From a Figma link to code
A setup guide for wiring Figma designs into Claude, Cursor, or Windsurf through the Figma-MCP protocol, so a single link turns into code.
The Figma-MCP protocol lets AI tools like Claude, Cursor, and Windsurf work directly with the design elements in a Figma file. The basic loop is simple: run a Figma-MCP server, connect it to the AI tool, paste a Figma link, and get back code generated from the analyzed design.
Issue a Figma API token
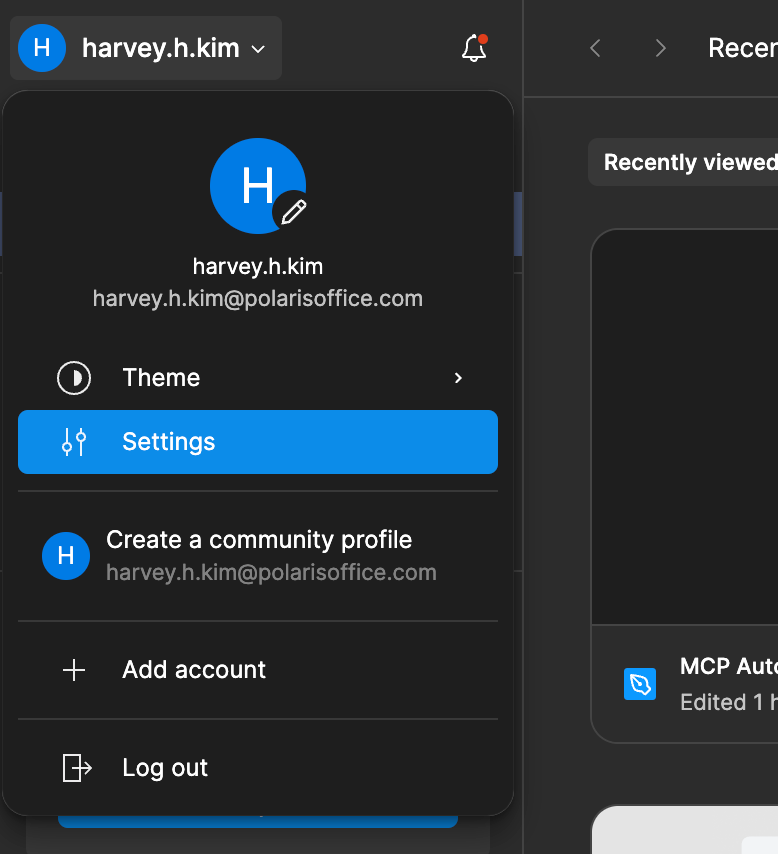
Open Figma, click your profile, and go to Settings.
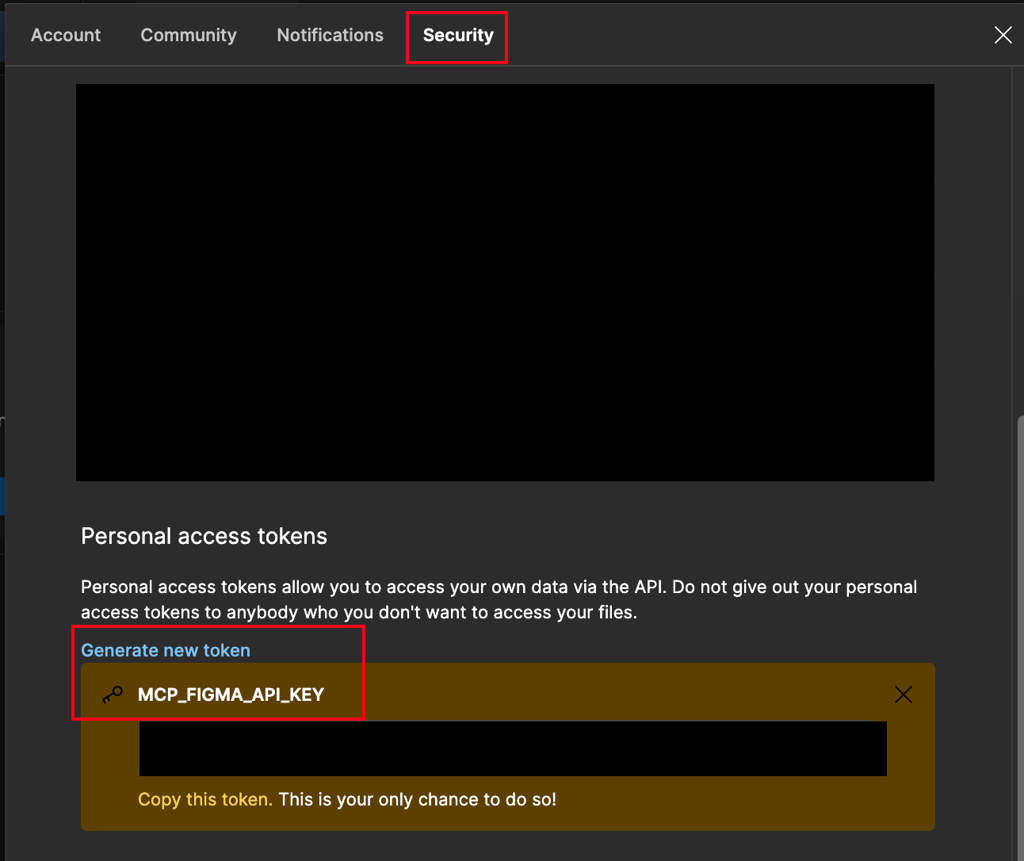
Under Security → Generate new token, create an API key.
Install the Figma-MCP server
You need an AI tool that speaks MCP (Claude, Cursor, Windsurf, and so on). This guide uses Claude.
First, install the Figma-MCP server by cloning the GLips/Figma-Context-MCP repository.
git clone https://github.com/GLips/Figma-Context-MCP.gitInstall the dependencies.
pnpm installIn .env.sample, set FIGMA_API_KEY to the token you issued in the previous step.
# Your Figma API access token
# Get it from your Figma account settings: https://www.figma.com/developers/api#access-tokens
FIGMA_API_KEY=<발급받은 API KEY>

# Server configuration
PORT=3333
Rename .env.sample to .env and start the server.
pnpm run devIf the server is up, you will see a log like this in the console.
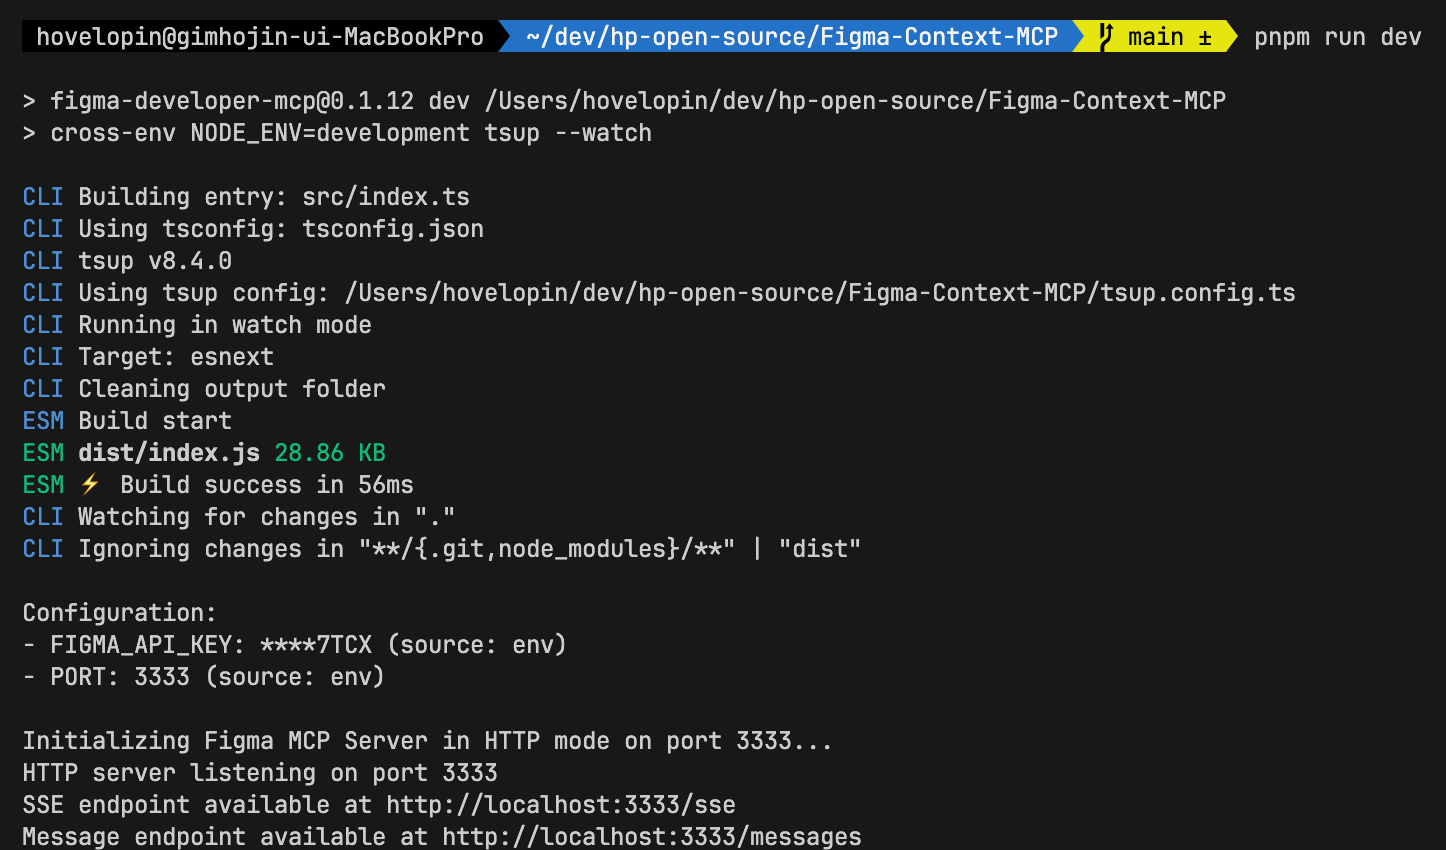
Before going further, here is what actually happens between pasting a Figma link and getting code back.
Figma 링크 하나로 코드까지 — MCP 가 이어주는 단계
MCP handles the two steps in the middle. You only touch the two ends: hand over the link, then check the result.
Connect Claude Desktop
To use Figma-MCP with Claude you need the desktop app. Grab the build for your OS from Claude Desktop Download.
Install it, launch it, and open the settings tab.
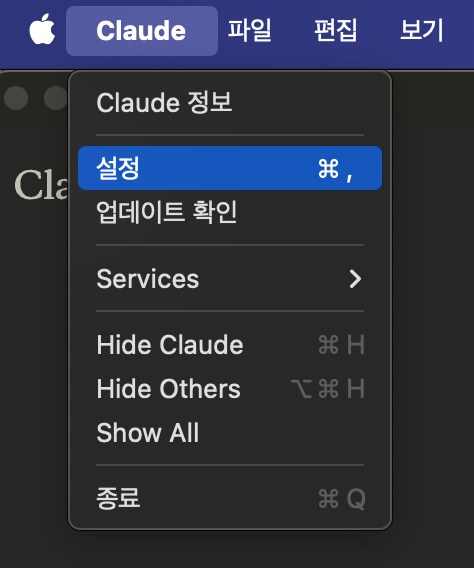
Pick Developer in the left-hand tab and open the config editor.
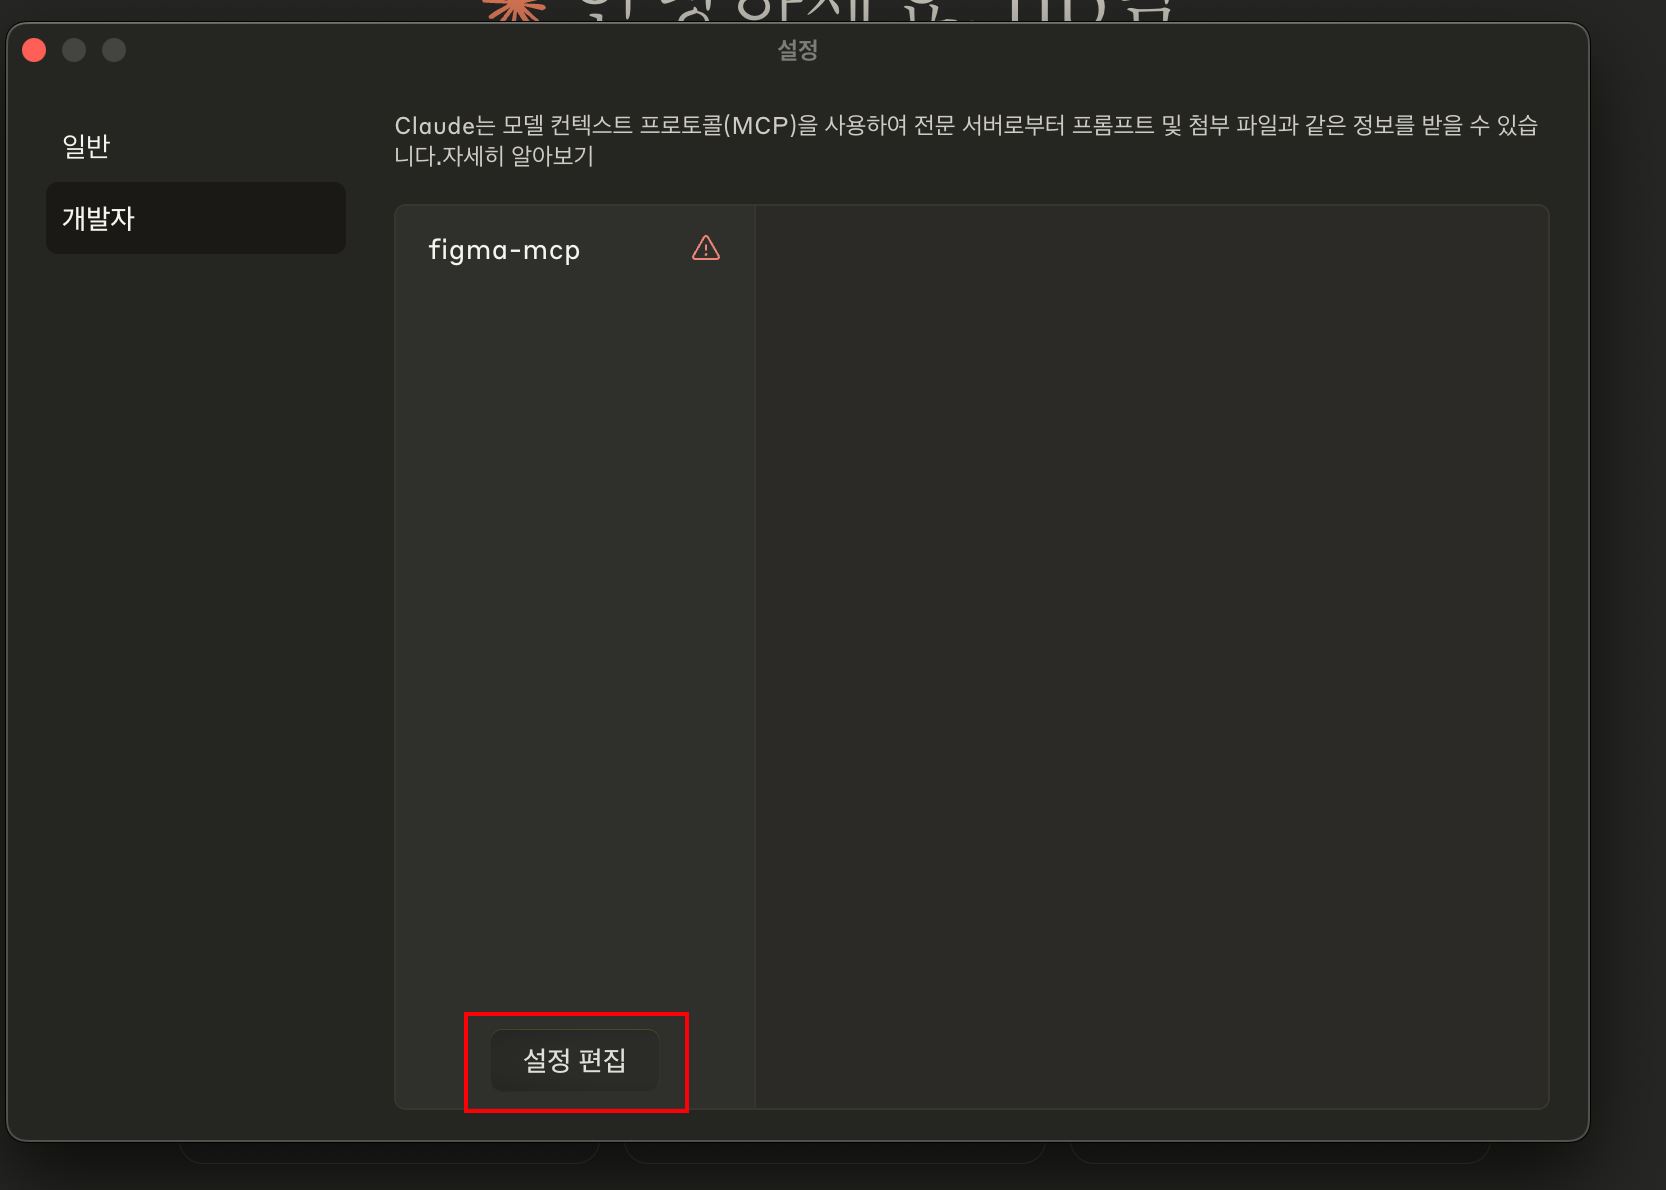
Click claude_desktop_config.json.
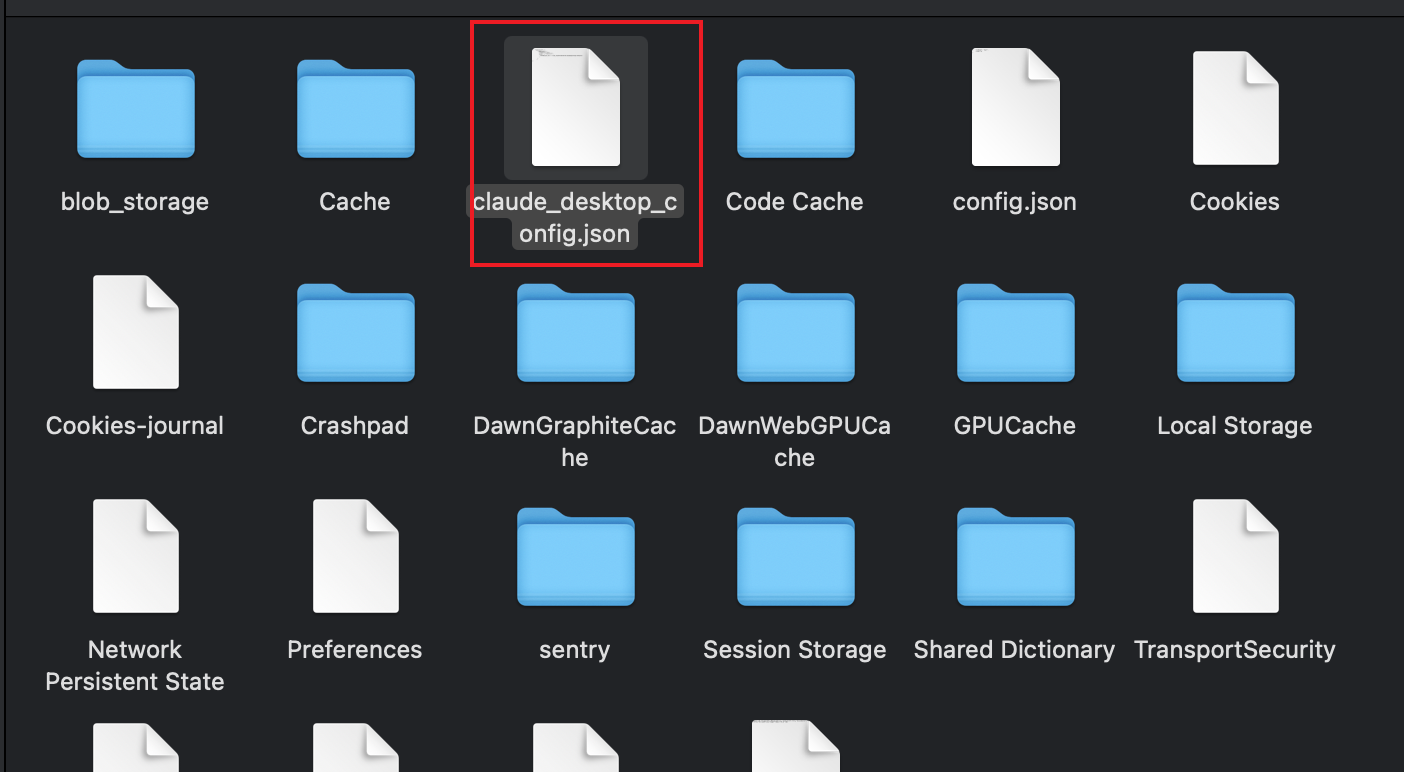
Add the following to the config file.
⚠️ Some setups work intermittently after configuring Claude. If that happens, try both variants below.
Option A — figma-mcp
{
  "mcpServers": {
    "figma-mcp": {
      "command": "npx",
      "args": ["figma-mcp"],
      "env": {
        "FIGMA_API_KEY": "<발급받은 API KEY>"
      }
    }
  }
}
Option B — figma-developer-mcp
{
  "mcpServers": {
    "figma-developer-mcp": {
      "command": "npx",
      "args": ["-y", "figma-developer-mcp", "--stdio"],
      "env": {
        "FIGMA_API_KEY": "<발급받은 API KEY>"
      }
    }
  }
}
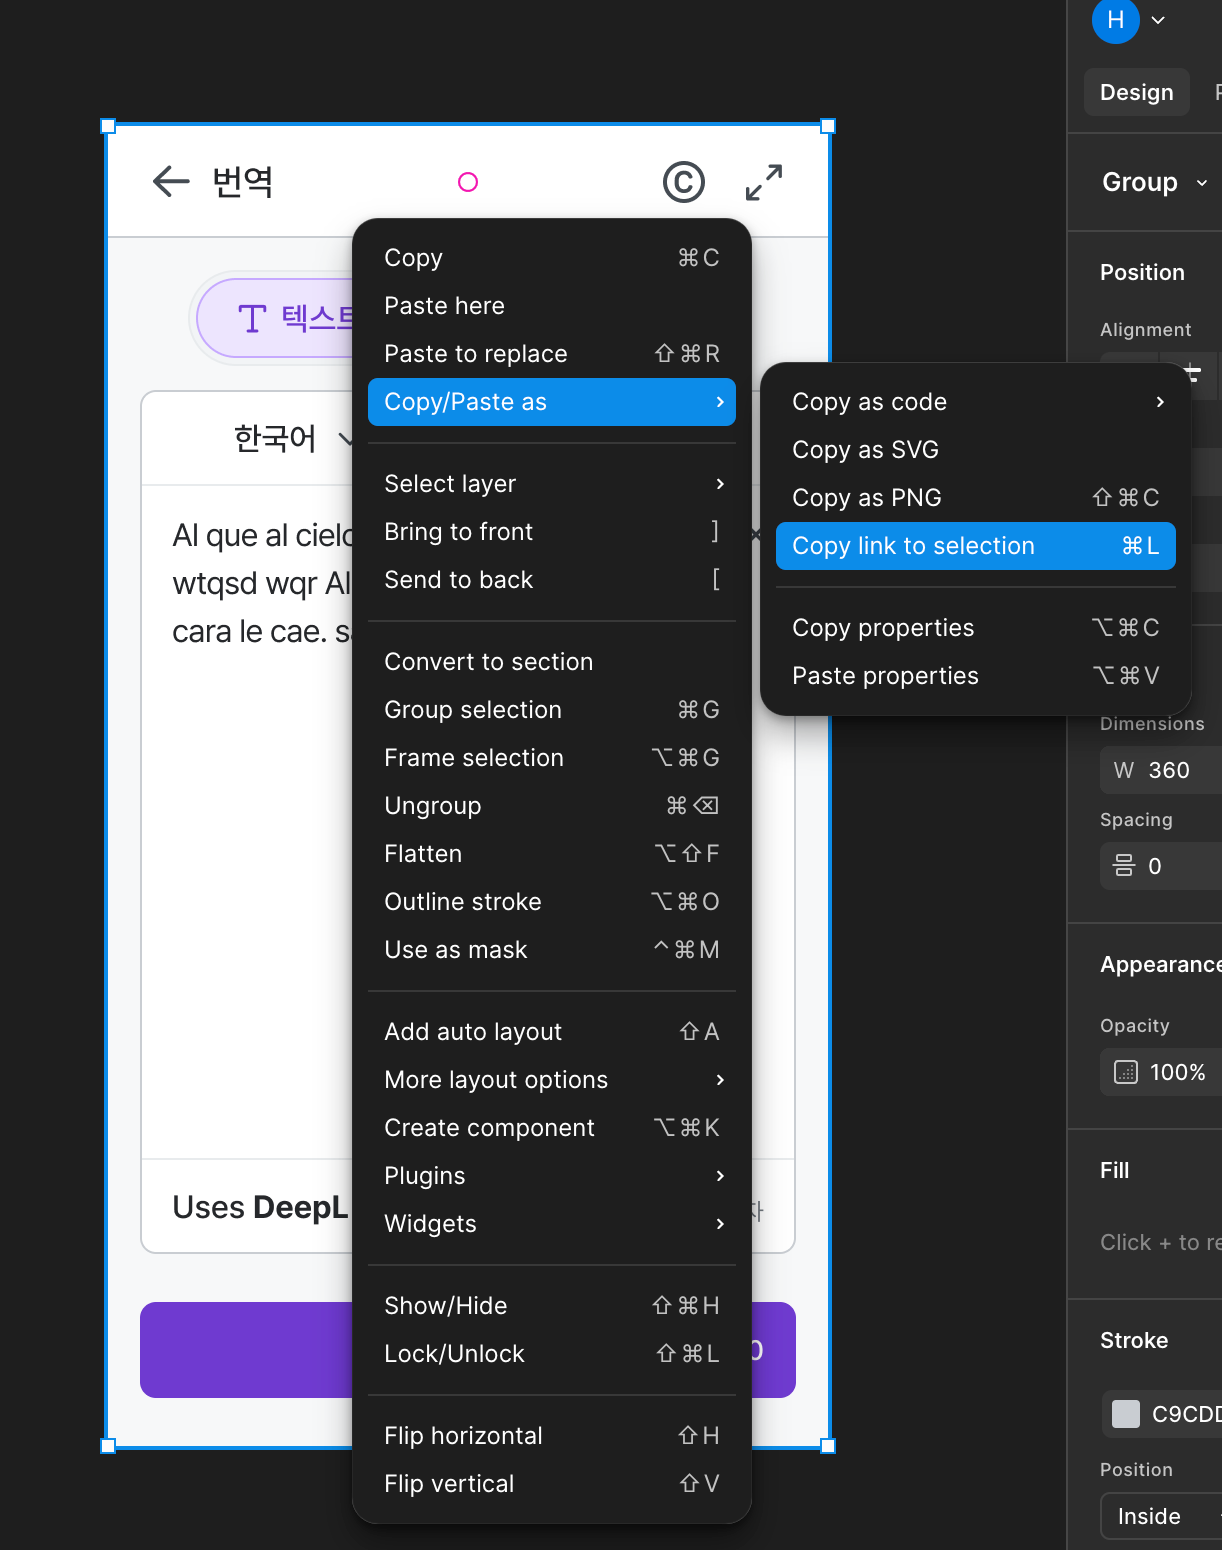
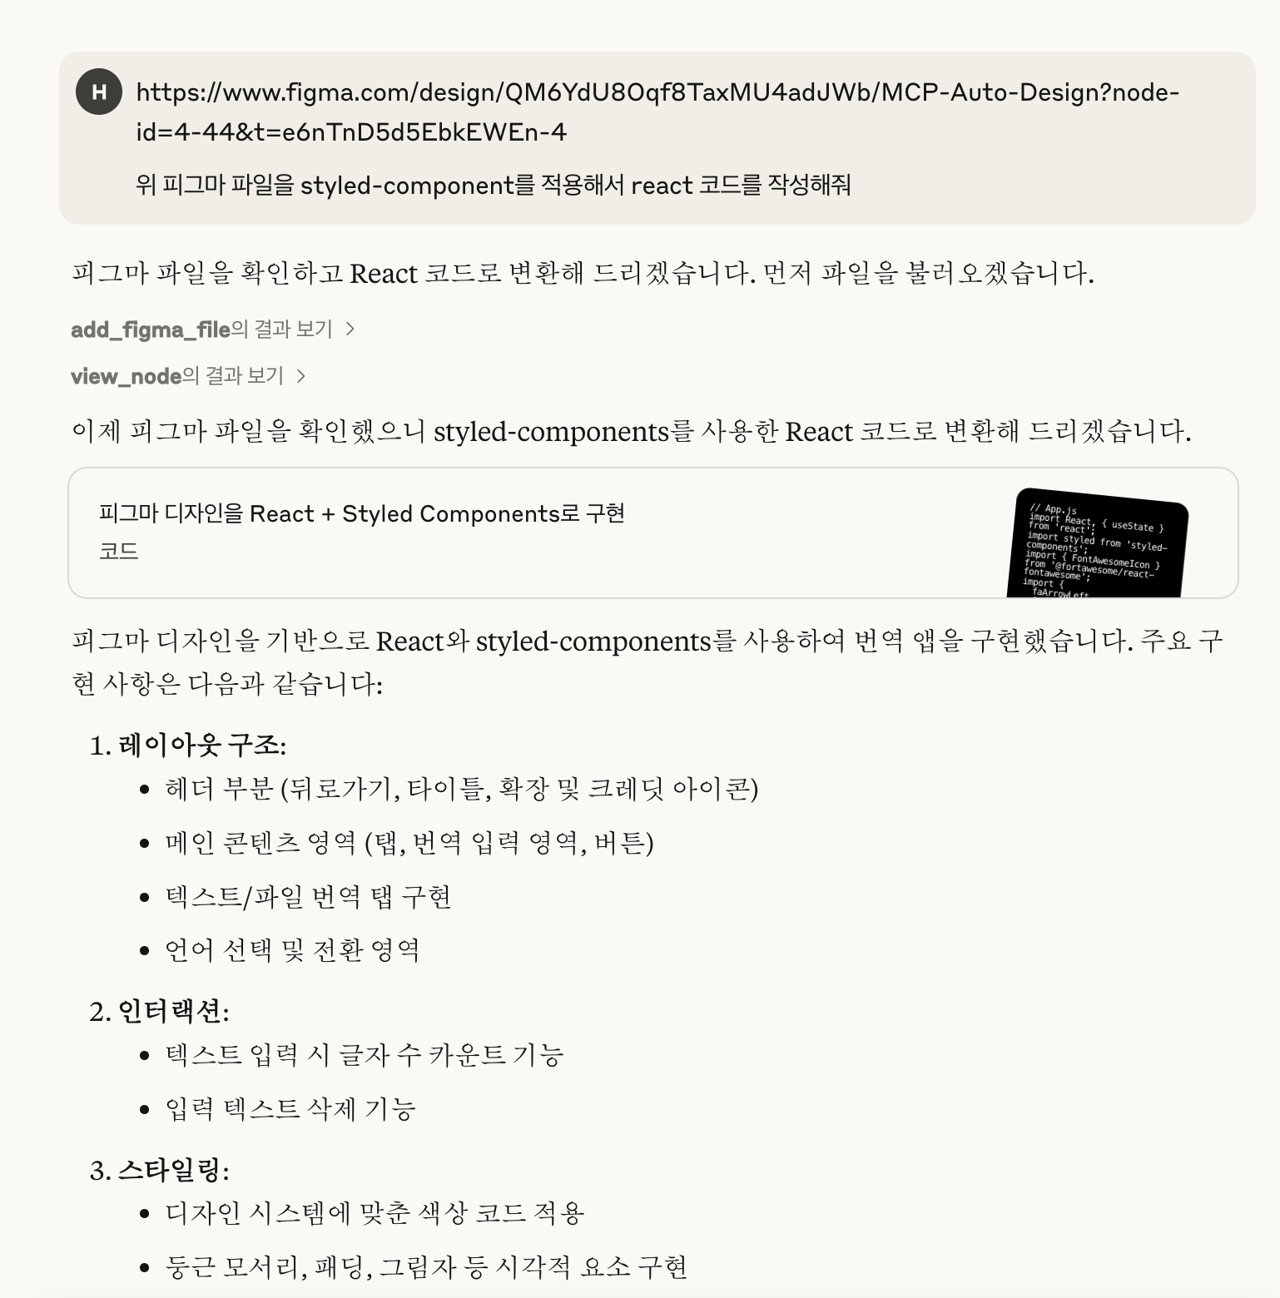
Once that is in place, use Copy link to selection in Figma, then give Claude the link together with the styling tool you want (styled-components, for example) and the framework or libraries you are using.
Claude analyzes the link and returns the design converted to code, like this.
| Figma source | Converted design |
|---|---|
 |  |
Closing thoughts
The generated output was surprisingly complete. With the defined icons and a bit of detail CSS on top, it looks like this can cut the cost of UI plumbing and leave more room for the core business logic.
An AI tool that plugs straight into the IDE, like Cursor, should be even more useful here, since it also understands the structure of the project you are already working in.